See All Information About
BADGES PINS

What Is Your Option For Getting the Best Quality Customized Badges PINS?
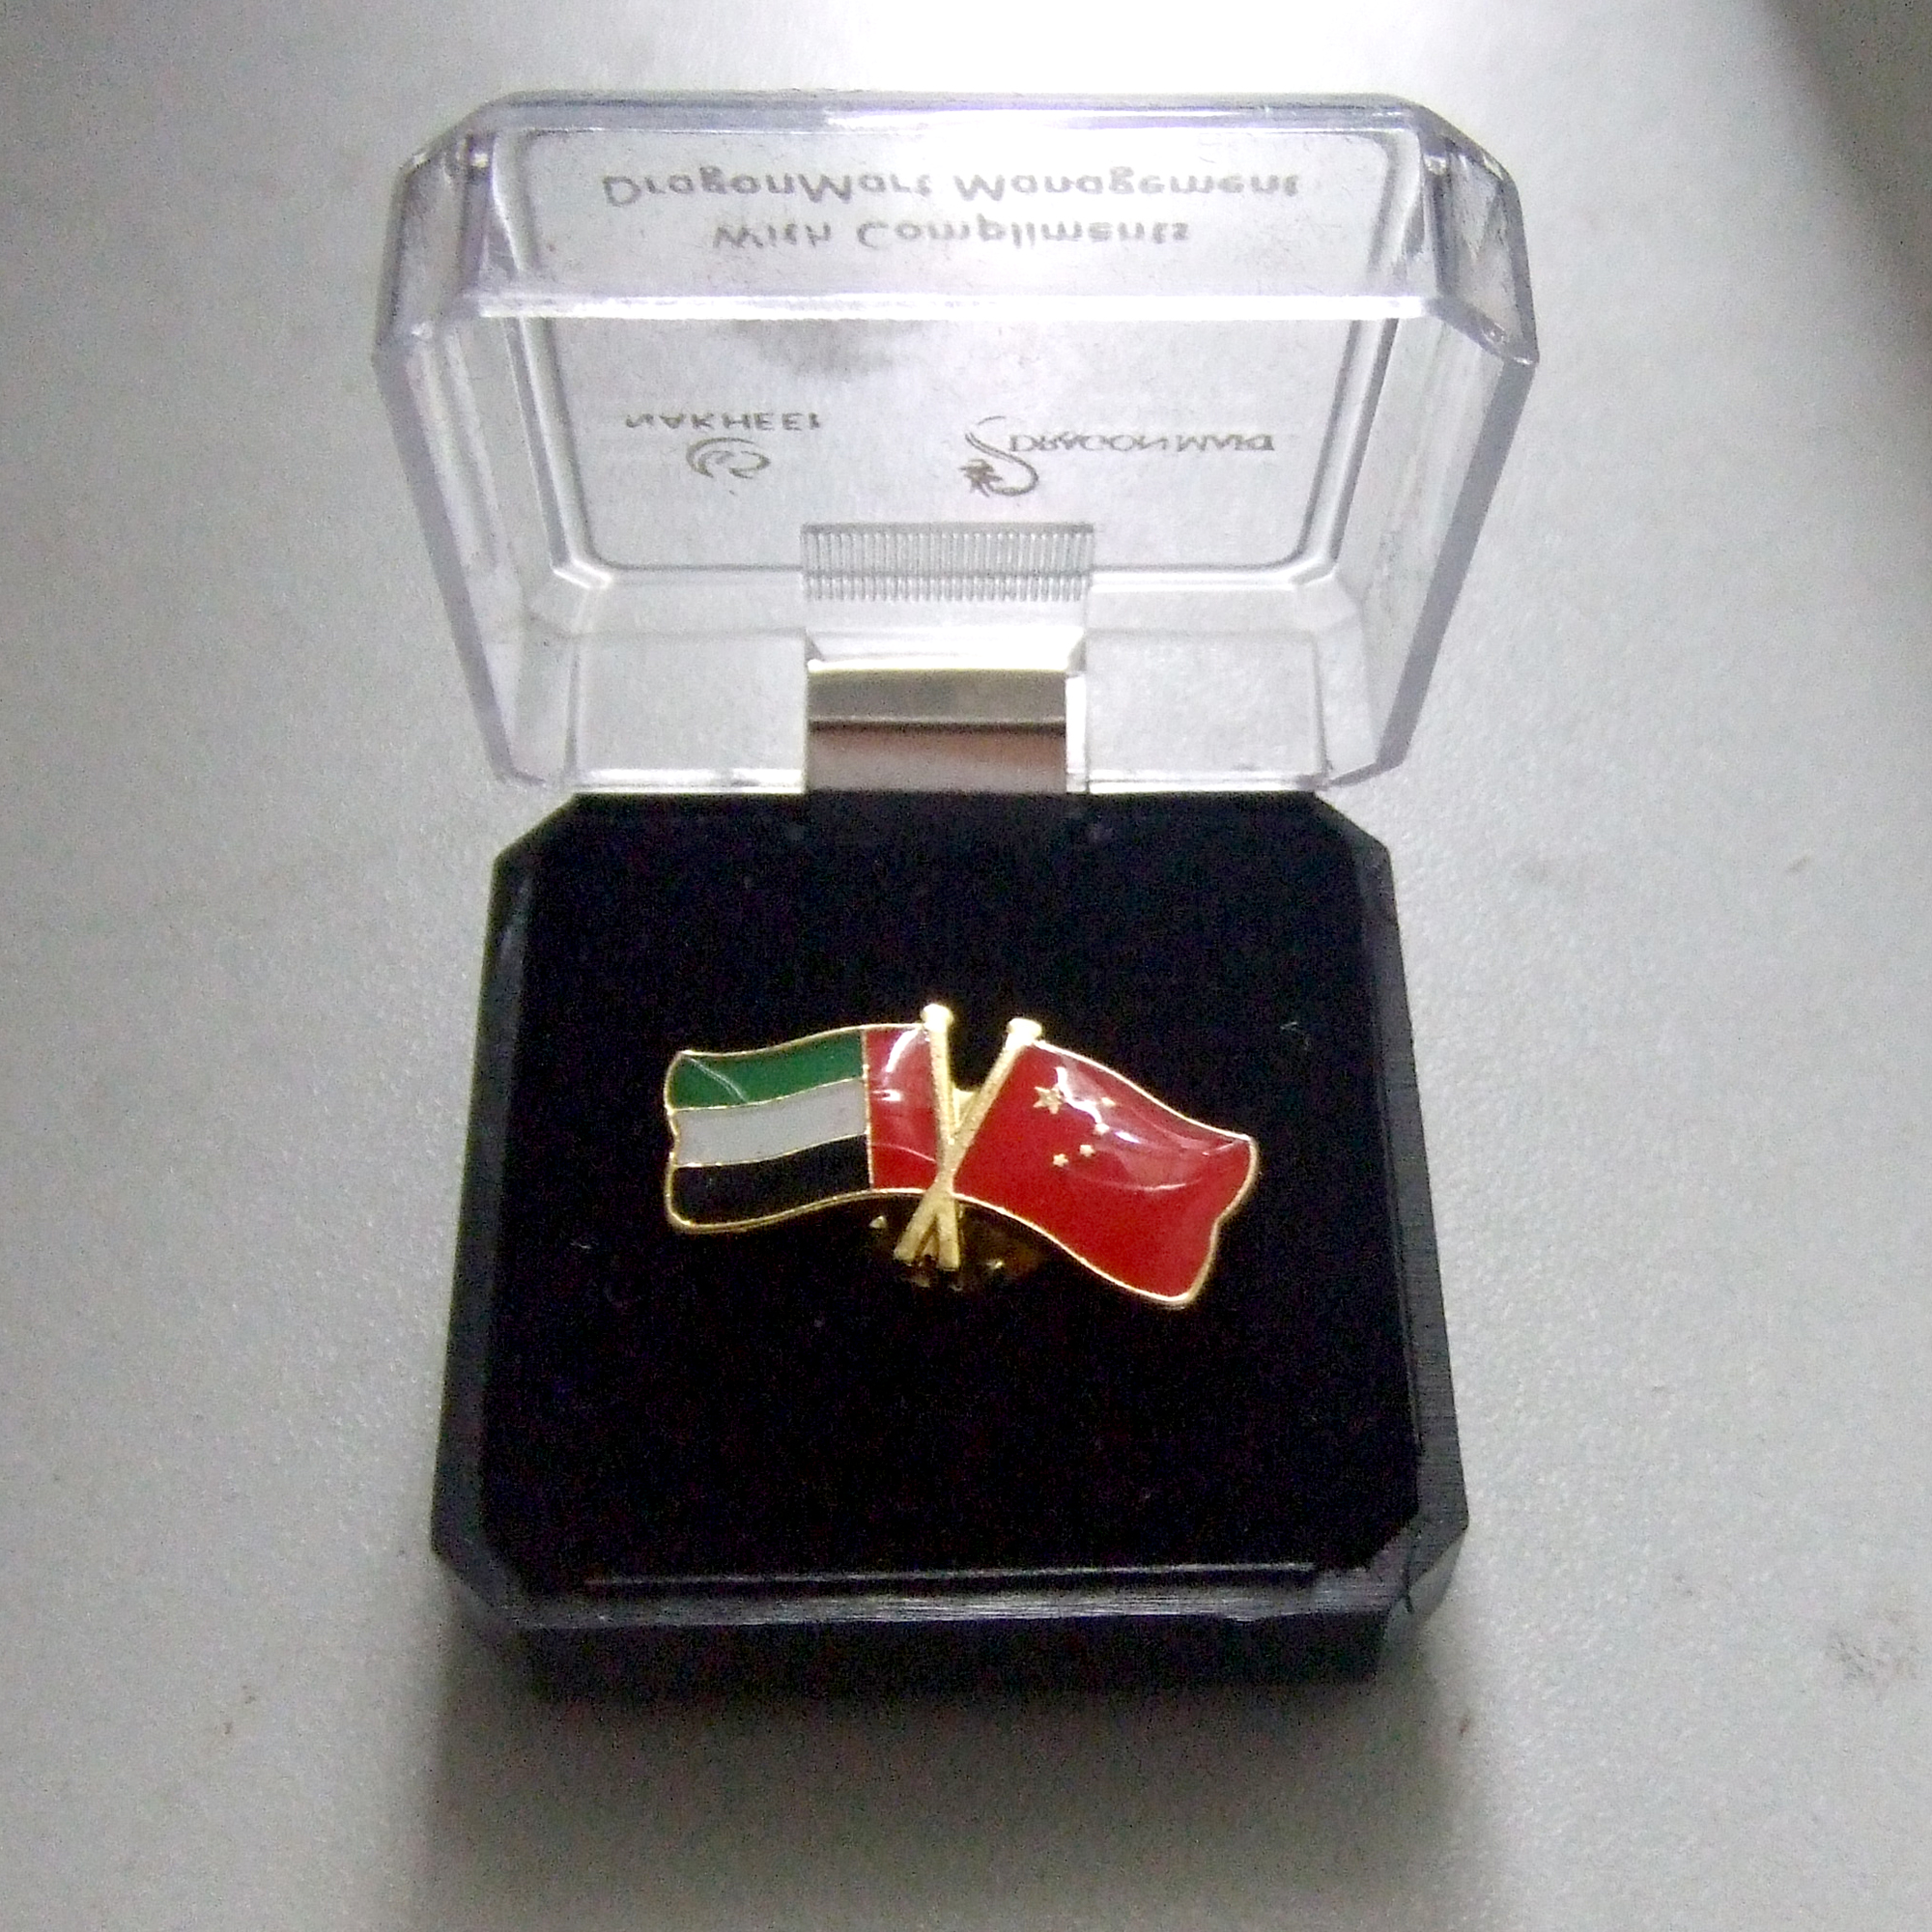
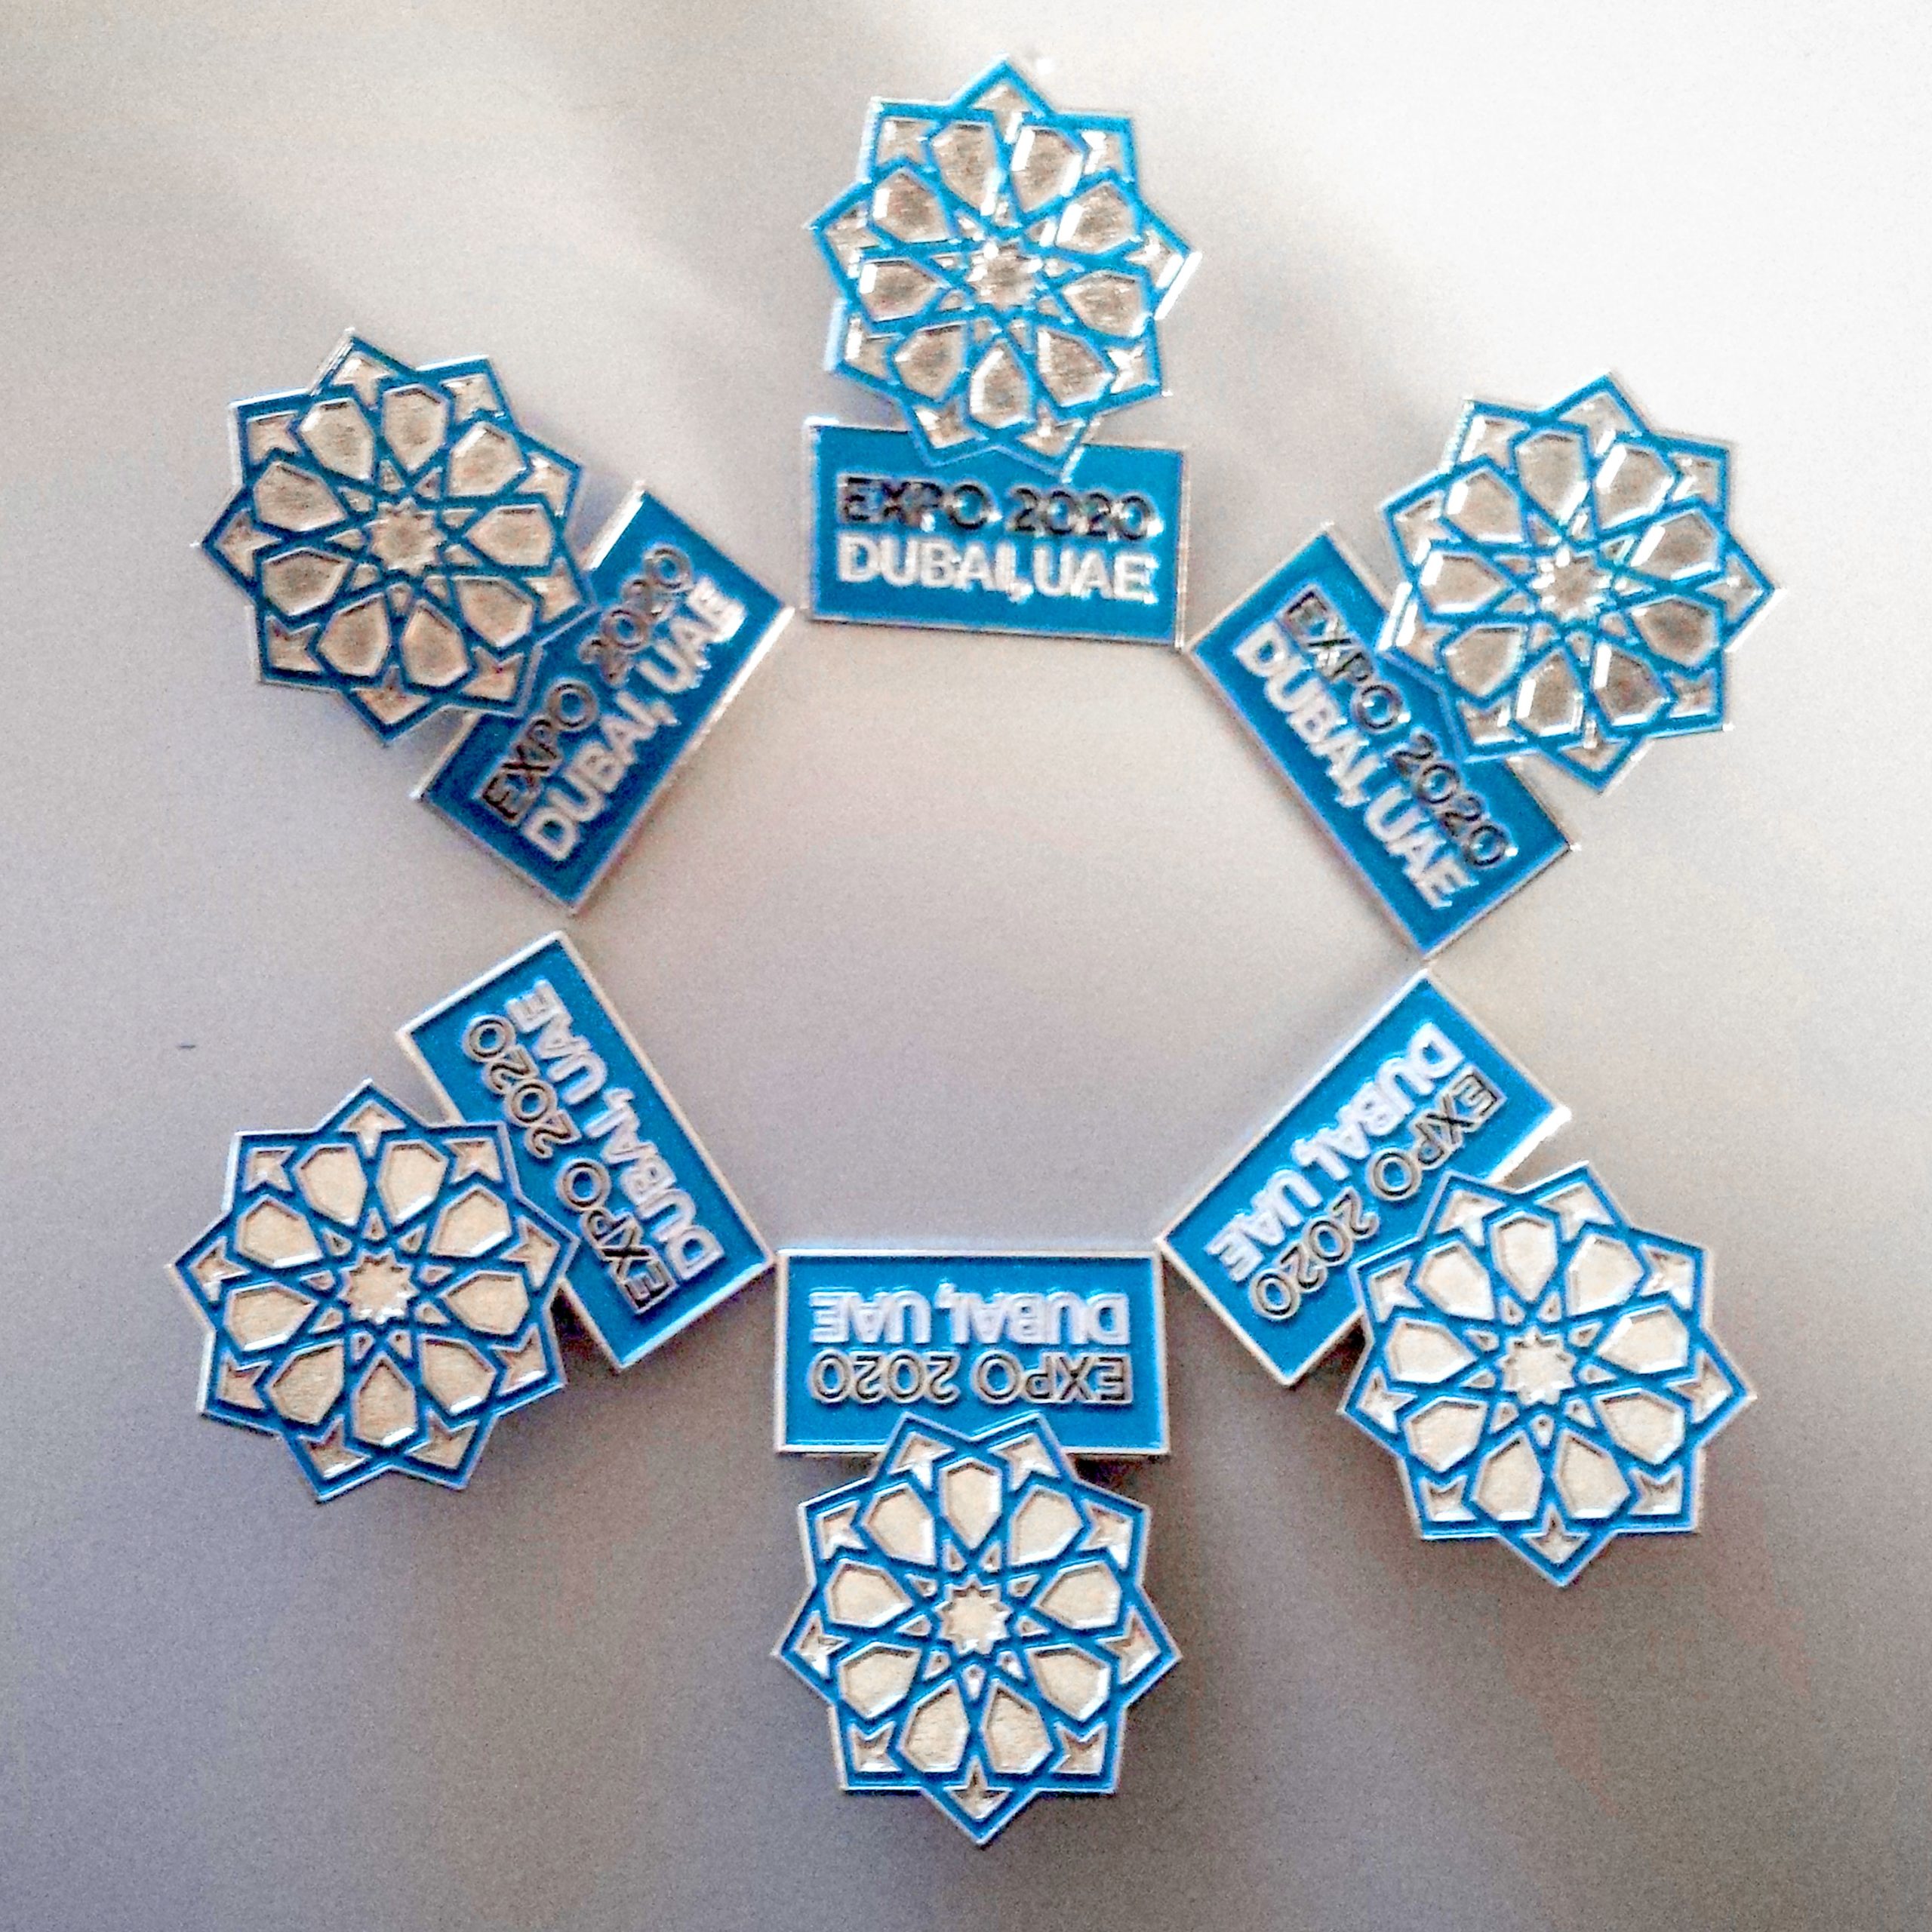
- Lapel pins are frequently used as symbols of achievement and belonging in different organizations. Lapel pins from the organization are often collected by members and non-members alike.

- Businesses, corporates, & political parties also use lapel pins to designate achievement and membership. Lapel pins are a common element of employee recognition programs, and they are presented to individuals as a symbol of an accomplishment. Like fraternity and sorority pins, these lapel pins instill a sense of belonging to an elite group of performers at the organization. Businesses also award lapel pins to employees more frequently to boost employee morale, productivity, and employee engagement.
Badges PINS
Things You Need To Know!
- The Soviet Union had great production of these. Besides pins showing political figures and as souvenirs for tourist spots, there were pins for various sports, cultural, and political gatherings and for technical achievements of the Soviet Union.
- In recent years, pin collecting and trading has also become a popular hobby. Demand for pin designs based on popular cartoon characters and themes
- Process[edit] Step 1: Stamping Molding Molds the metal surface to form the design. Step 2: Outline Cutting * Cutting molds are made separately, then cut to the exact outline of the design. * Additional outline cutting molds may be required depending on the complexity of the design. * If a center hole or cut-out is required, an additional cut-through mold must be used. Step 3: Attachment Solder attachment onto the back of each piece. Step 4: Plating Plating now can be processed. The quality of plating varies with the length of time the metal is soaked in the plating liquid. Step 5: Polishing The metal surface is then polished until it is smooth and shiny. This applies to copper material only. Iron can be polished if required, but this will incur a surcharge. Step 6: Coloring * Soft enamel is carefully inserted by hand, one color at a time, using different sized syringes. * Drying. * To prevent defects, a high degree of skill is required in order to keep each color and the correct amount of enamel in the proper area. Step 7: Cleaning Excess color and impurities are then wiped off the metal surfaces. Step 8: Baking The metal piece is baked at approximately 450F for 12 to 15 minutes. Step 9: Epoxy Coating Clear epoxy is then applied to the surface to protect the enamel from color fading and cracking (Epoxy coating is optional and provided according to customer’s requirements). * The standard colors are based on the Pantone Chart. * Bolder designs are recommended in order to prevent any unsatisfactory coloring caused by lines and figures that are too thin or too small. * General enamel coloring requires a surrounding metal space to ensure good quality painting results. Therefore, it is usually necessary to allow for a blank metal rim (0.3 mm minimum). For budget considerations, iron material can be used instead of copper, but without polishing.
